01
Upload your image
Choose a JPG, PNG, or WebP image up to 5 MB. The file is read in your browser, so the original stays on your device while you experiment.
LOW QUALITY IMAGE MAKER
Make a low quality image in seconds: compress, pixelate, reduce resolution, or create a Deep Fried look directly in your browser.
COMMON USES
PRESET
Fine-tune the look
Start with a preset, then make the result lighter or heavier.Turn a normal photo into a deliberately compressed image without installing an editor.
Choose a JPG, PNG, or WebP image up to 5 MB. The file is read in your browser, so the original stays on your device while you experiment.
Start with Deep Fried, Crusty, Old Phone, or Reposted. These presets combine compression, pixels, scale, blur, noise, and color damage so you do not need to guess every setting.
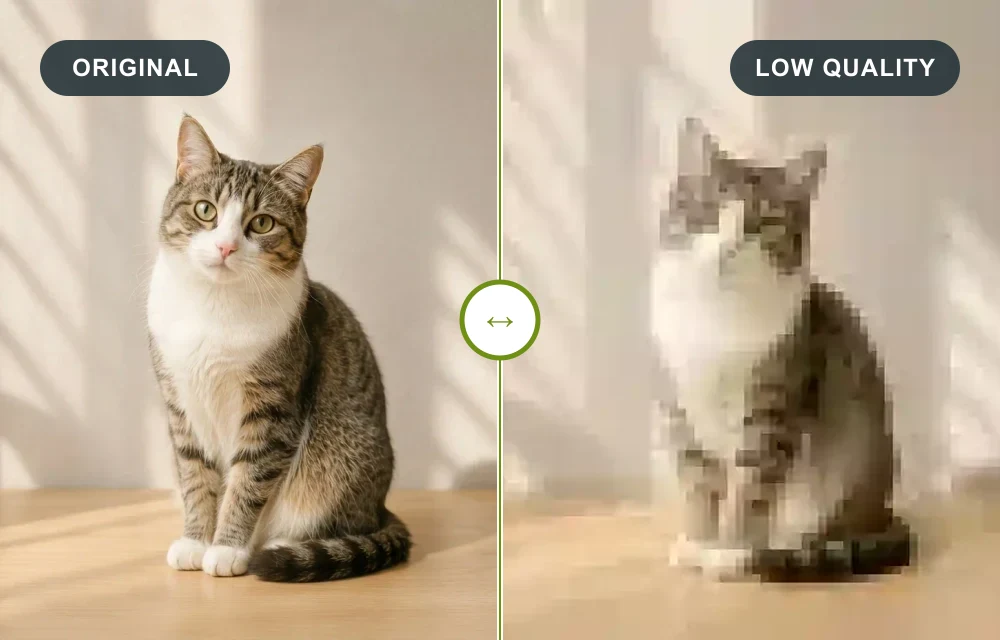
Drag the comparison handle to check the original against the low quality result. Choose JPG, PNG, or WebP, then download the finished file when it looks right.
A low quality image is not always a mistake. Sometimes a clean, high-resolution photo feels too polished for a meme, a fictional screenshot, a retro post, or a visual reference to an older camera. This low quality image maker gives you a quick, repeatable way to make that choice intentionally. You can begin with one click, see the result immediately, and adjust only the amount of damage you need.
Use Effect strength when you like a preset but want a lighter or heavier version. Use Output size when the image should feel like a small repost or when a smaller file is easier to send. Advanced controls are available for pixel size, blur, noise, color damage, resampling, and repeated recompression, but they stay collapsed until you need them.
WHY LOWER QUALITY?
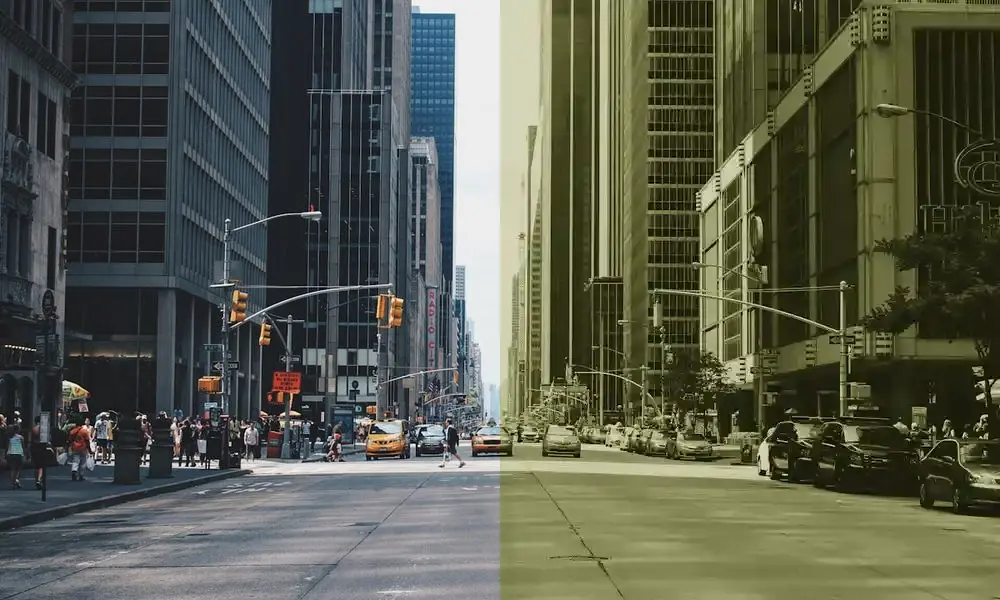
Deep Fried and Crusty effects create the compressed, pixelated look used in meme culture and retro internet graphics. Increase the strength for bold contrast and visible blocks, or keep it subtle when the joke depends on a barely damaged image.
Reduce resolution and add visible pixels to simulate a small screen, old camera, or heavily shared image. Old Phone adds a softer, noisier character, while pixel size makes the grid easier to see at a glance.
Lower the output size or image quality when a smaller image is easier to share, store, or fit into a platform limit. WebP is useful when you want a compact export, while PNG keeps lossless edges but does not expose a JPEG quality slider.
Process a copy locally before sharing it. Your original image stays on your device throughout this tool's standard workflow, and the downloaded result contains no watermark or account identifier.
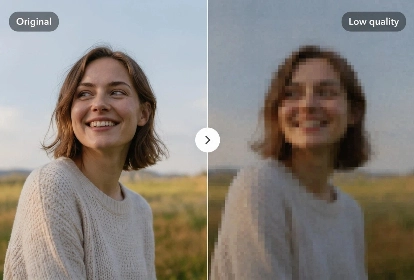
Different source images respond differently. A portrait can benefit from a little color damage and a smaller scale, while a screenshot may need stronger pixelation to make the low-resolution intent obvious. Product photos often look better with a restrained effect so the object remains recognizable. Try the preset first, move the main strength slider, and only open the advanced controls when the visual result calls for a specific texture.
The goal is control rather than random destruction. A useful low quality image still communicates its subject, mood, or message. Compare at several slider positions, pause when important details remain readable, and export the format that matches where you plan to post or send the image.
CONTROL THE RESULT
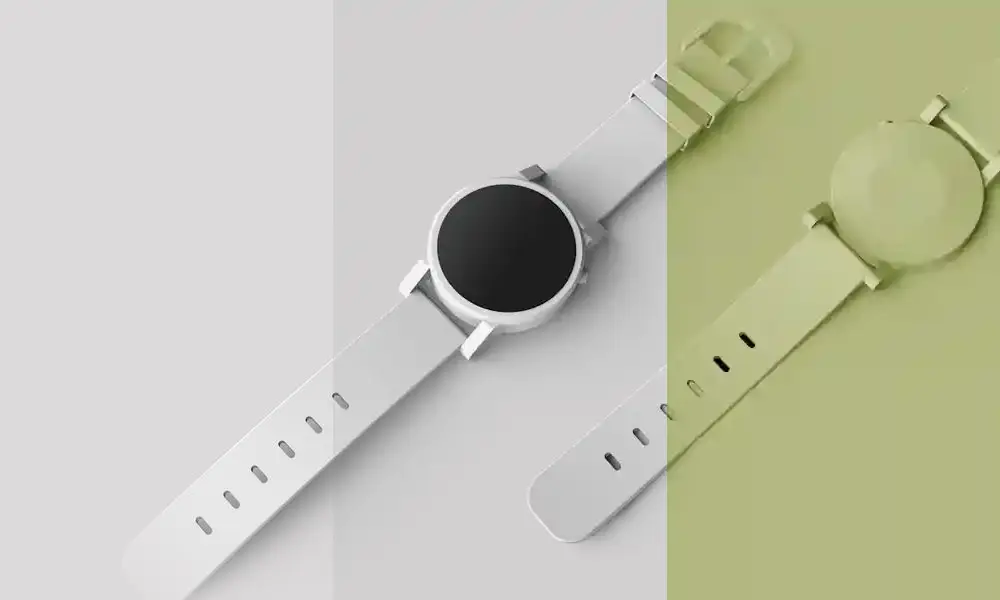
Adjust the intensity continuously from subtle to heavily degraded. This is the best first control when you are unsure how far to push the look.
Scale the exported dimensions from 10% to 100% of the original. A smaller scale creates the visual feeling of a thumbnail, old phone, or repeatedly forwarded file.
Control compression and file size for JPG and WebP exports. PNG is lossless, so its quality control is intentionally hidden; use scale and pixels instead.
JPG works well for photographs and visible compression artifacts. WebP is a practical choice for smaller web-ready files, especially when you want to keep a modern format. PNG is useful for lossless graphics, illustrations, or images where hard edges must remain clean. The maker supports all three formats and lets you choose the export after you preview the effect.
You can also flip the image horizontally or vertically before exporting. That small transform is useful when a reference image needs a different orientation or when you are preparing a deliberately reposted composition. Reset always returns the current image to the settings it had when you entered the workspace, so experimenting remains reversible.
For a quick workflow, upload a copy of the source, select the closest preset, and move only the main sliders. A strength near the middle is a useful starting point for social graphics; lower values preserve faces, text, and product details, while higher values make compression and pixel blocks part of the subject. If the result feels too muddy, raise output size or lower noise before changing the format.
For a recognizable retro result, keep the subject centered and avoid pushing every control at once. Pixelation is most visible around high-contrast edges, such as lettering, window frames, hair, and watch hands. Noise can suggest an old sensor, while blur softens the harshness created by small pixels. Recompression adds the repeated-save character people associate with forwarded images, but one or two passes are often enough.
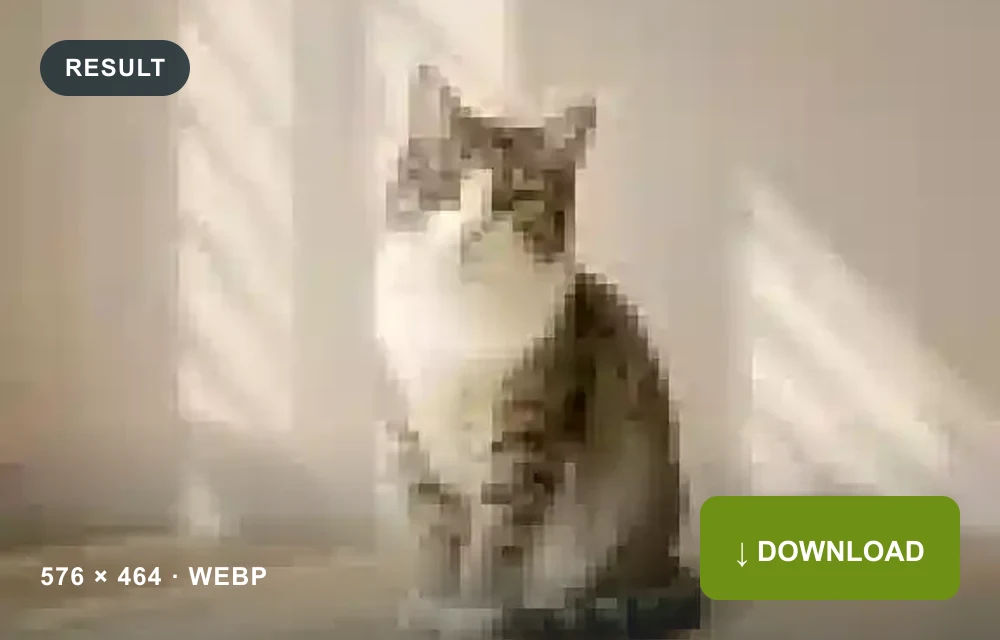
Before downloading, check the dimensions and estimated file size shown beside the export selector. This makes it easy to choose a result that fits a post, message, thumbnail, or upload limit. Because the preview updates in the browser, you can compare several versions without sending the source image anywhere. When you are satisfied, download the result and keep the original separately so you can create another variation later.
GOOD TO KNOW
Short answers to the most common questions about formats, privacy, presets, and export settings. If you are new to intentional image degradation, start with one preset and make one change at a time; the live comparison makes each decision easy to understand.
Upload an image, choose a preset, set the strength and output size, then download the result.
Deep Fried raises saturation and contrast while using lower image quality, a reduced output size, and visible pixels for an intentionally overprocessed meme look.
No. This tool processes your image locally in your browser and does not upload it to a server.
You can upload JPG, PNG, and WebP images up to 5 MB and download JPG, PNG, or WebP results.
Yes. You can use the tool without signing up and downloaded images have no watermark.
PNG uses lossless compression, so it does not use the quality setting available for JPG and WebP. Use output size, pixel size, and the other advanced controls to make a PNG look lower quality.
MORE IMAGE TOOLS
Set an exact frame, make a circle crop, or isolate an irregular subject.